Tuesday, December 29, 2015

2016 is going to be a year of building

With only a few days left in 2015, my to-build list for 2016 is getting very long.


The first build is going to be not one but two of these DIY Kids Workbench by Fix This Build That. One is for my nephew who turns 3 in February. The second is for my youngest. My hope is that she will leave my workbench and tools alone. Not sure if it will work but any excuse to build is a good excuse!

I also have a book shelf, a couple table top easels, a washer/dryer pedestals, a raised dog storage/food tray and a few other things.


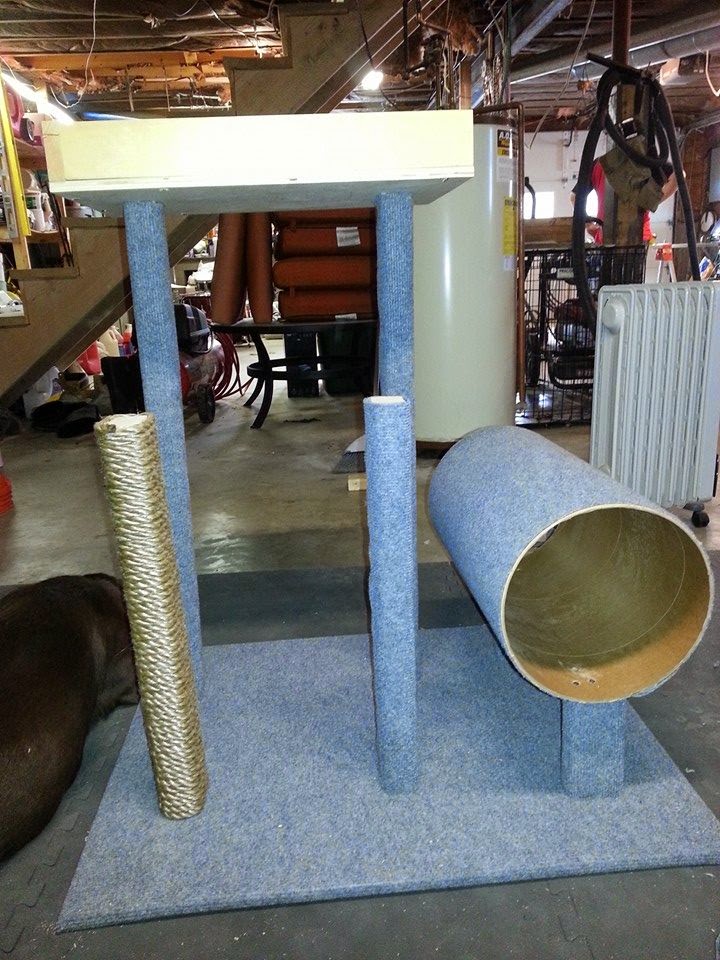
One of those other things being a new cat tower. If you remember from this post, I built a cat tower for our cat back at the end of 2013. With the addition of another cat the tower no longer looks like this....
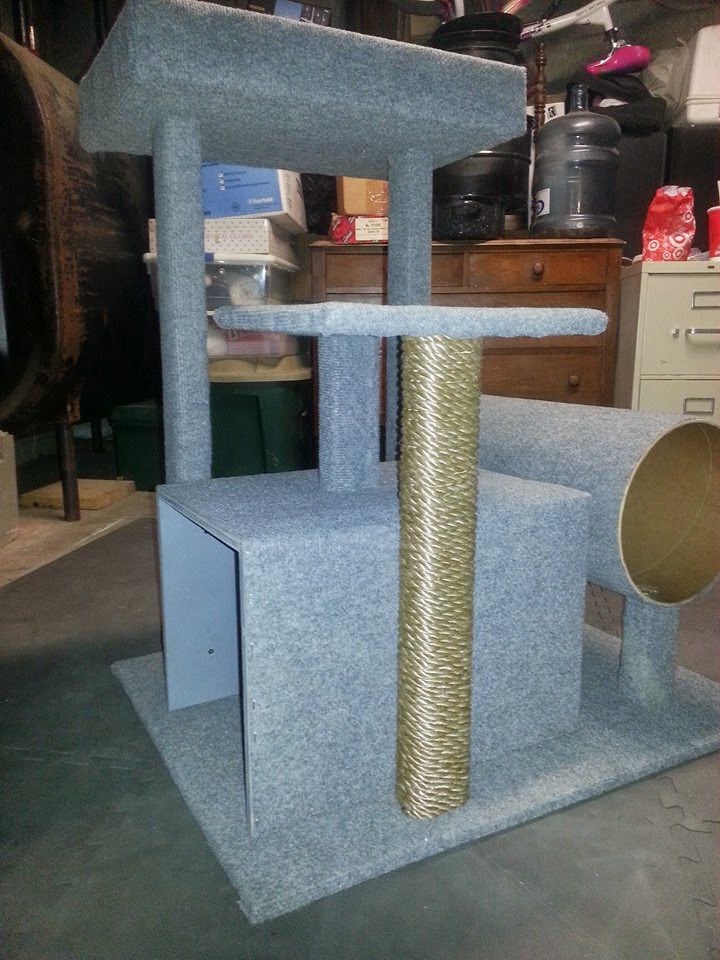
I still can't believe I built this with no plans


But actually like this....


I am not complaining, mind you. Thanks to that tower, our furniture has been spared! I will share the progress of the new one, so stay tuned.


What do you have planned for 2016?

Wednesday, December 23, 2015

A sure way to get your plate back......

At Thanksgiving there was still some pie leftover and I left my plate behind. I wasn't worried about getting it back. To make it easier for it to be returned, I came up with an idea. I would add our name to plate! I wasn't thinking with a piece of tape and sharpie. What I had in mind was more permanent. I wanted to etch it on the plate!!!


I gathered my supplies.....


I have had this bottle of etching cream for
over 10 years and it still works great. 
After I washed and dried my plate, I attached the stencils (I like to hold the plate up to light after I attach the stencils. This allows me to make sure the placement is where I want it).


Then I added a thick layer etching cream. I had to be careful here and make sure I only got the cream where I wanted it. The etching cream is basically an acid. Once it has done it's job, there is no way to reverse it.

I let the plate set for 5-6 minutes. Using running water and a rag, I rinsed the cream off (before removing the stencils I hold the plate up to the light to make sure I didn't miss any spots). As a side note after I finish rinsing the plate off, I clean both my work area and sink with bleach to remove any acid left behind.

I wash the plate with soap and water (etching is dishwasher safe) and it is done!


Making this took no time, you could even whip one up for Christmas!!!

If you want to make one here's what you need......
a pie plate (or any glass serving dish)
etching cream
stencils (the need to stick to the glass)
foam brush
disposable gloves


If you make one please share a picture. If you have any questions let me know.


Thursday, January 15, 2015

The project that started it all.......


Here's the story of how my adventure in building began.......
 
It was Thanksgiving of 2013, the family and I were studying all the black Friday sales (who doesn't).
 
When my then 4 year old daughter says " Mom...Greenie (our cat who's real name is Greenfella)needs this"
and points to a very small, flimsy cat tower for a whooping
$70
at on of the pet stores.
I say "Not for that price, I can make one cheaper than that."
 
At this point I have no idea how to use power tools or even the slightest idea how to build such a thing.  Like any good DIY'er, I went to my best friend Pinterest and starting looking for a tutorial. I found many inspirational pictures but no how-to's. At this point I am determined, so I get some paper, a pencil and draw a rough idea of what I want.
 
Once I came up with my "plans" I approached my husband. To ask what I might need for wood. He gave me his advice, never truly believing I would undertake such a project (he should of known better). The next day the girls and set out to Home Depot on our own.
 
Once we got home I made asked my husband to show me how to use his tools. After a quick how-to from him, followed by a very firm I was doing it on my own. I set out to build. Now remind you this was last year well before I even thought about blogging. I did however, take pictures of the various steps to share with family along the way.
 
Now I will share them with you......


I can't even tell you how proud of this I am. Not only was it my first building project, it was my very own design. Is it perfect, heck no but Greenie didn't mind. The best part I built it for less that $60. Now remember the one that started this whole adventure was $60. However, that one wasn't even half the size of this one.
 
A year later Greenie still uses it daily. I call that a DIY win!!!
 
 
What project started you out??

Friday, January 9, 2015

A pallet sign

I have seen a lot of pallet signs lately.
Even though I really like them, I have hesitated to make them.
I don't have a fancy machine to make my stencils or vinyl decals.
 
Then I realized that I should try to make my own stencil.
I figured one of two things could happen.
I might ruin a some wood I got for free
or
I might make a really great sign.
 
So I gave it a try.
 
I searched for an image that I could use as a template.
I printed out one that I thought would work and traced it on to some left over contact paper.
After it was cut out, I stuck it on the sign I had made.
 
Then I painted over it.
 
 Once the paint was dry, I removed the stencil.

I could of stopped there but I wanted it look a bit older.
So I grabbed the sander and ended up with this.
 
I don't think I did to bad for making my own decal.
What do you think?
 
 
I apologise for the picture quality. I made this before deciding to blog.

Monday, January 5, 2015

A few things in the works.....

Even with the holidays and the girls on winter break.
I still found managed to start some projects.
Unfortunately, I didn't find the time to finished.
 
Remaking a Christmas gift that got broken
I love the holidays and love having my girls home even more.
But to be honest I am glad things are back to normal.
I require structure and organization.
Without those, I am not a fun person to be around.
 
Working on a project I came up with on my own
For me unfinished projects are like finger nails on the chalkboard.
I am hoping that by finishing even one or two,
I can walk by my workbench or craft room
without tensing up.
 
Becoming reaquinted with an old friend
I really need to get at least one of these done soon!
 
Finally building something for myself
 
 
Do you have any unfinished projects right now??

Miter box and Saw

I got a new toy for Christmas from Jeff and the girls.
It wasn't something I asked for or even thought I wanted.
With that said I love it!
Want to know what it is??????

I got 12" miter box and saw from Home Depot.


 I could not wait to try it out.


 Because this is a 12" box and my wood obviously is not,
I clamp the wood to the box to keep it secure.
This worked great (and saved my fingers).
 
I loved how the slits in the box kept the saw in place.
 

Each cut was straight!
 
 
The other thing I did was attach the box
to a scrap piece of  2 x 4.
I don't like things permanently attached to my workbench.
By attaching it to the 2 x 4, I am able to secure the box with my clamps.
 
I like not having to use the chop saw all the time now.
I can make quick cuts while the family is sleeping,
something I could not do before.
Another, great benefit is my arms are getting stronger.
 
I can see myself definitely using this a lot!


Saturday, January 3, 2015

A crochet lion hat for a girl

My friend Sally asked me to make her a hat for a little girl.
She wanted it to be a lion.
She even sent me a picture of one she had found.
 
Pattern can be found here if you would like
Now this is a perfectly fine lion. 
Just not at all the right one for a little girl.
As I search, I realized there wasn't one.

So I did what I do and made my own.


I think it is perfect for a little girl.
What do you think??